[ad_1]
Bathrooms are 1 of the smallest rooms in the house and they are also 1 the most pricey to renovate. Bathroom renovation is a task that, if done very well, can incorporate value to a home and a terrific house whole of layout and light-weight.
Bathroom style and design
Bathroom design and style is the initially area of your bathroom renovation you want to get proper. Just changing the current bathroom with the identical structure might not be adequate. The crucial to wonderful bathroom design is to design it with the persons that are heading to use it in brain. Even so be positive that your bathroom layout also has a general use aspect as well. For example: If you had been building a bathroom for households you could even now style and design the bathroom with effortless accessibility to the shower and bath. This would guarantee that the style and design would also function for folks with limited mobility. This usually means if you make your mind up to sell your home or if you are renovating for profit your layout has a wider market place charm. Terrific bathroom design also works by using the space perfectly, using into account the light-weight or window area, sizing of fittings, and drainage options. Attract out a program to scale and correct down the sizes of your area. Mark the present drainage points and then and drinking water inlet factors. Write down a would like list of the bathroom fittings to need and want with their measurements. Now marry the two jointly and see what suits. Note: Most bathroom drainage and drinking water inlet details can be moved but this does appear at additional price tag.
Bathroom remodel
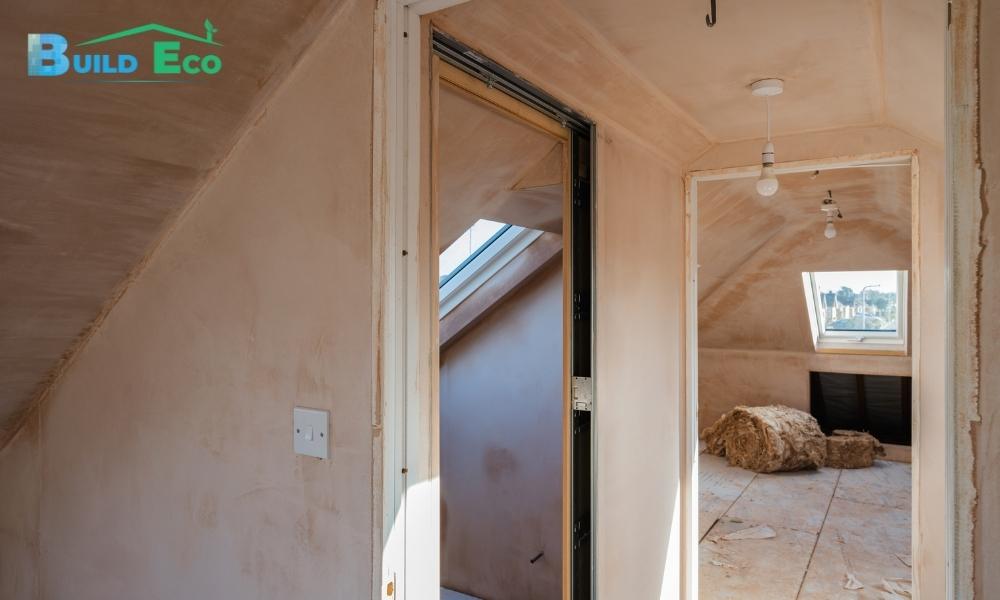
If you have determined to do the work on your own or component of the function it is time to retain the services of a skip bin and pull out the previous bathroom. If your home was created pre 1980 you may well have fibro bathroom wall linings with asbestos in it and excellent care will want to be taken. You will will need some whole physique disposable overalls, eye defense, and excellent dust mask. Check with your local building authority or council about the regulation on bathroom asbestos wall lining removing.
Remove every little thing besides the plumbing. If you hold the bathroom plumbing in position you will not have to change the water off for the total house. Also you will have to have to jack hammer the flooring tiles up and the sand and cement bed that they are laid on.
Bathroom Renovation and construction
Bogs need to be construction adequately from the ground up to make sure that the completed job is accurate and legitimate. This also ensures the design and style and search of the bathroom will have a great complete
The Bathroom Renovation Approach
- Put in h2o and drainage pipe and electrical wires.
- Put in wall lining and ceiling and then set up the bathtub hob and bathtub.
- Water-proof the flooring and shower and bathtub recess.
- Proper the tumble of the ground with sand and cement all set for tiling.
- Lay floor and wall tiles and then grout.
- Install new bathroom vainness, fittings, and taps – install new electrical.
- Paint ceiling and final cleanse.
Stage one – Plumbing and electrical
At this position all new plumbing is set up for thoroughly clean incredibly hot and chilly drinking water and drainage. Mindful focus desires to be taken when positioning the new plumbing so that the plumbing fittings are correct when the tiling is concluded. For example: To centre a fitting in a shower recess you should get into consideration the thickness of the wall board, tile glue and tile so the fitting will be centred soon after the tiles are in position. The exact applies to installing drainage pipes for a bathroom the wall lining and tile thickness will have to be taken into account so the pipe is in the accurate situation when the rest room is set up right after tiling. Also rough in the any new electrical wires without having connecting them to the mains electrical power.
Step two – Set up wall and ceiling linings
Install your 6mm wall lining remaining watchful to nail the fibro board every single 150mm with no nailing into the new pipes and electrical wires. The very best way is to measure and mark the pipe and wire format onto your new wall board with a pencil as you go. Screw up (or nail) the ceiling lining, plasterboard is the most common. Even so if you are laying your tiles from floor to ceiling do not put in the cornice as this is most effective performed soon after tiling. If you are not tiling to the ceiling go in advance and install the cornice soon after the wallboard and ceiling lining have been mounted. Also if your bathtub is not freestanding you can now make up the body and set up the bath. Be certain the tub is put in correctly allowing for the thickness of the tiles and glue.Be absolutely sure to look at all linings and pipes just before you continue on with your bathroom renovation.
Move a few – Waterproof your bathroom
Water-resistant your bathroom flooring, shower recess, and around the bath. When waterproofing the floor ensure that the waterproofing comes 100mm up the partitions. The shower recess will will need to be waterproofed 100mm earlier mentioned the shower rose outlet. Also the bathtub should be waterproofed 100mm higher than the lip of the tub correct around and to the floor. At the doorway install a 25 x 25mm aluminum angle glued into location with good quality silicone and water-proof into the lip. Your total bathroom really should now the tanked, so the all drinking water will only go down a drain. Bathroom waterproofing idea: waterproofing is an quick work but high-quality and accuracy is most significant.
Step four – Lay in the cement screed for the ground.
In advance of the flooring tiles can laid the flooring need to be smooth and relatively flat with a slight drop to the drainage outlet. To do this you should use sand and cement blend and it is greatest to insert a waterproofing agent into this as properly. With a degree, established the flooring stage at the doorway. Use the top aluminum angle as the completed flooring degree and evaluate down the thickness of the tile additionally 10mm for the glue. Mark appropriate about the bathroom with a degree and then screed in your sand and cement combine with a 1 to 3 degree drop to the leading of the drain outlet. Choose your time and get it correct with the finished amount as clean as possible. When the sand cement combine has set but is not dry (you can stroll on it but you it is nevertheless a little bit gentle) rub it more than with a house brick. This will take away all the compact highs and lows and test with a stage as you go. Allow the bathroom ground thoroughly dry and then you really should have a excellent surface to tile on to. Idea: the extra perform you put into the flooring screed the easier your tiling will be.
Step five: Tile ground and partitions
Lay your tiles on the ground to start with and then grout. Then lay your wall tiles creating certain that they are degree as you lay. At the time the bathroom tiles have been reduce and laid, grout all your tiles and then buff the tiles clean.
Move 6: Put in plumbing fitting and fixtures
Install all your plumbing fittings and taps. Also in good shape all your towel rails and soap holders. Healthy your new bathroom self-importance producing confident it is level and sealed about the prime with silicone and also seal all over the bathtub. Idea: make sure they are in the ideal spot ahead of you drill into your tiles.
Stage 7: painting, and cleansing – get pleasure from
Paint your ceiling and do a closing clean building sure almost everything is fitted accurately and that there are no leaks in your plumbing. – Appreciate your new bathroom.
[ad_2]
Build Eco is experienced and shopper targeted building contractors. Presenting the two domestic & business building and refurbishment solutions all over Dublin.
Handy Hyperlinks